Maintenance State

The "Maintenance Status" subsection allows you to access the current maintenance status of machine components, categorized into groups and subgroups with a hierarchical structure as follows:

GROUP [Description]

SUBGROUP [Description]

COMPONENT [Description, Expected cycles, Executed cycles, Remaining cycles,

Maintenance status %, Last maintenance date.]

In this section, it is also possible to:

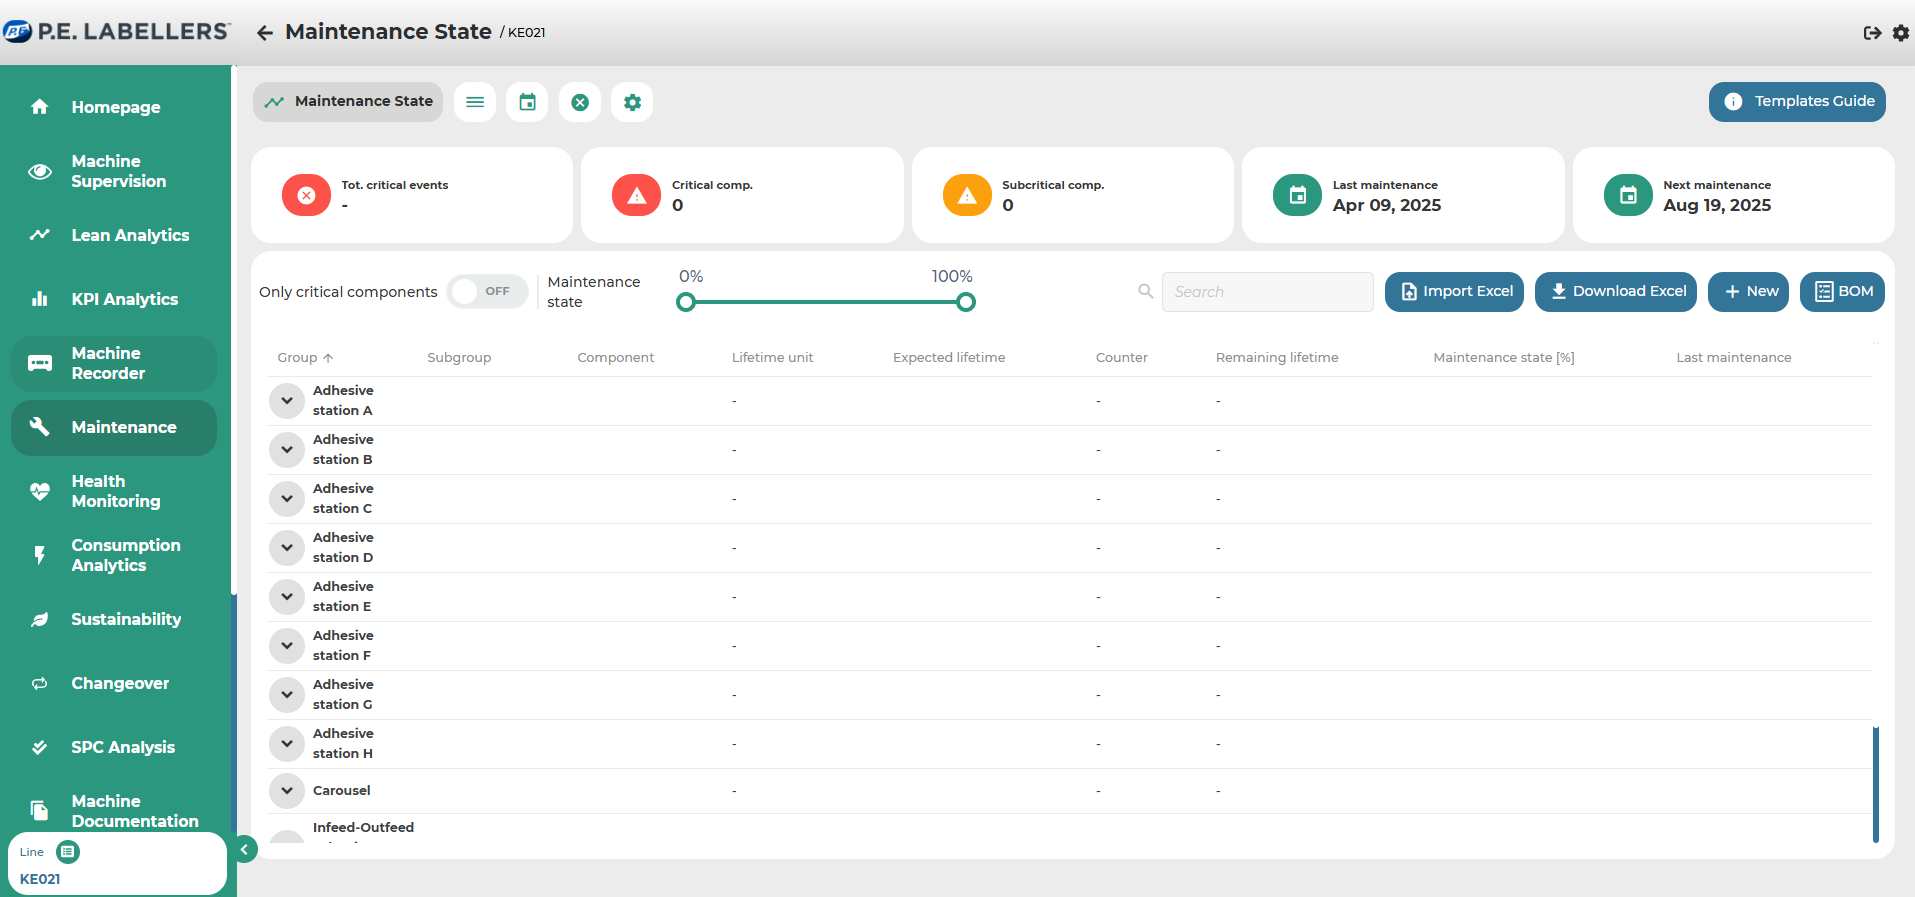
  • Selecting "Only critical components" , will display only the components with a maintenance status percentage below the tolerance threshold.

  • Selecting "Maintance state" to display those components that fall within a specific percentage range.

  • Select the 
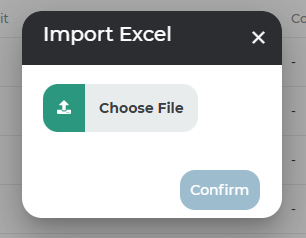
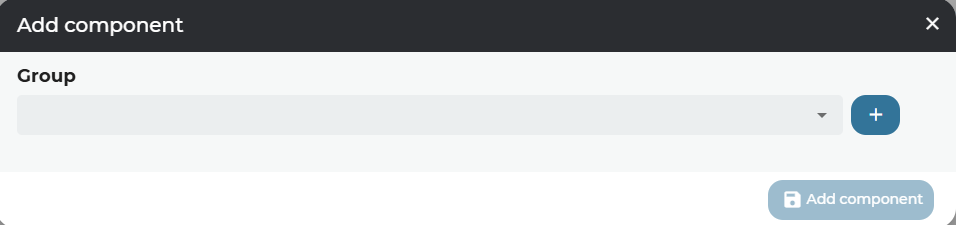
commands that allow you to: import new components through an Excel file, download the displayed data in the dashboard in XLS format, enter new components directly from the web app, and generate material lists.


Import Excel

To import the Excel file, follow these steps:

  1. Click on "Import Excel."

  2. Click on "Select Excel File."

  3. Locate the file you want to upload and once selected, click on "Open."

  4. Click on "Confirm."

The components present on the page but not included in the Excel file being uploaded will be displayed to the user, who will be prompted to choose whether to keep them or proceed with their deletion.

To ensure successful import, the Excel file should follow the same template as the downloadable file from the web app. Therefore, the table headers should be as follows: Group; Group (second language translation); Subgroup; Subgroup (second language translation); Component; Code; Description; Description (second language translation); Critical Threshold; Subcritical Threshold; Expected Cycle Numbers; Image Description; Installation (DD-MM-YYYY).

Note: It is not necessary to fill in the second language translation tables.

🛈 Filling in the second language translation fields is not mandatory.


Import component list from the web app

To manually add new components using the web app interface, follow these steps:

  1. Click on "+ New."

  2. Select the group to which the component belongs from the dropdown menu.

  3. Select the subgroup to which the component belongs.

  4. Attach the image in PNG, JPEG, or PDF format (this is not a required task).

  5. Fill out the form with the requested information.

  6. Click on "Add Component."

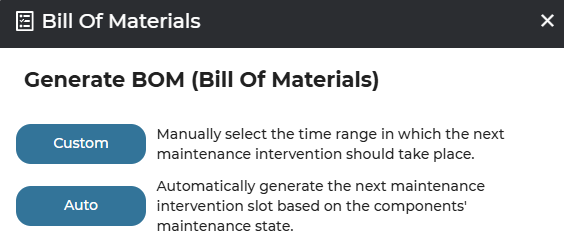
Generation of a basic bill of materials

The basic bill of materials can be generated either in a customized manner by manually setting the time interval for the next maintenance intervention, or automatically.

Manually generate the bill of materials

To generate the bill of materials in a customized manner, proceed as follows:

  1. Click on "BOM."

  2. Click on "Customized."

  3. Select the time interval.

Was this helpful?